Hey, long time, no see!
It was bound to happen. It seems, no matter how many years I teach, back to school always kicks my butt. It was probably a bit more brutal this year because, for whatever reason, I holed up in my craft room this summer and refused to leave until the first required work day. Why? Because I just want to make cards. The woes of the employed.
But here I am, and ready for a big, big share!
For the past few years, I have recognized the teachers and staff in my building with cards and tiny gifts whenever possible -- first day of school, holidays, birthdays, teacher appreciation week, and other seasonal celebrations. This year was no exception! I made cards and cookies, gift tags, and card sets aplenty! Just wait til I show you!
DIY Stencils:
I am pretty excited about these cards because I actually used my brand new Silhouette Cameo 4! I was inspired by these oversized fruit cards Jennifer McGuire and her sidekick Lila made. Oh man, I wanted those stencils! But I resisted, and while I'm not a better person for it, I did survive the hardship.
To create my DIY stencil, I used an image purchased from the Silhouette Design Store.
Since the design is created in layers, I simply took apart the layers and diecut each layer as a separate stencil. But let's be honest here. There's no way it was that easy.
You caught me.
Here are the real steps:
- In Silhouette Studio, draw an A2 size rectangle, so you know how much space you have to work with.
- Keeping all the apple layers together, resize the image to whatever you want.
- Duplicate the image multiple times and position them on top of the A2 rectangle. Be sure to angle some and flip some upside down.
- Duplicate the entire design onto new pages -- 4 times -- one for each color / layer.
- On each of the pages, delete all but one layer -- leaving a different layer on each page.
- Delete the A2 rectangle and any other shapes outside of about a 6x8" area
For this particular image, I separated the image into the following layers:
At first, I inked the top and bottom apple layer with only Gina K Red Hot ink with a Dark Chocolate stem, and I liked it just fine. Then, an uninvited craft room intruder commented that the apples looked a bit flat and needed some shading. The intruder was the artsy-fartsy kind with an eye for color and design.
Figures.
After inking up each layer -- twice, thank you -- I matted the apple panel onto black, leaving only a tiny reveal. I stamped the panels with you are the best from the Altenew Leaf Canopy set. For the teachers in my building, I added a CZDesign teacher die cut. I cut the shadow and detail layers from black and white and inlaid the word into its shadow. For all other staff in my building, I added a hey die cut from the Altenew Versatile Greetings set.
Shall we talk about that comma?
Genius. That's what it is. As an English teacher who moonlights as a card maker, there's nothing more frustrating than grammar and punctuation errors in stamps and dies. So this comma makes me positively giddy.
And now, my greatest card making fear is losing that tiny interrupter.
On the inside of each card, I stamped be amazing today from the Lily & Moss collection by Kaiserkraft.
For my very favorite teacher librarian's card, I also added some tiny school supplies from the Lessons in Love set by My Favorite Things. I colored these with Copic markers. I definitely would have preferred for all the cards to have this added color and detail, but it simply was not in the cards.
That was a good one.
Not in the cards.
All 38 teachers and staff in my building received one of these cards along with a package of homemade pencil wafer cookies.
And now, New Teacher Gifts:
I teach in a small school in a small town. (That's one of those tell me you have job-related conflict without telling me you have job-related conflict statements.) It is both wonderful and challenging at the same time.
This year, we hired three new middle school teachers, and I wanted to make sure each one of them felt welcome and special.
Another teacher and I put together gift baskets for each new teacher. She supplied the baskets, a few snacks, and the obvious school supplies, and I supplied the handmade goodness.
If you're a teacher, you know you're gonna need some thank you cards because, inevitably, you will receive unsolicited gifts.
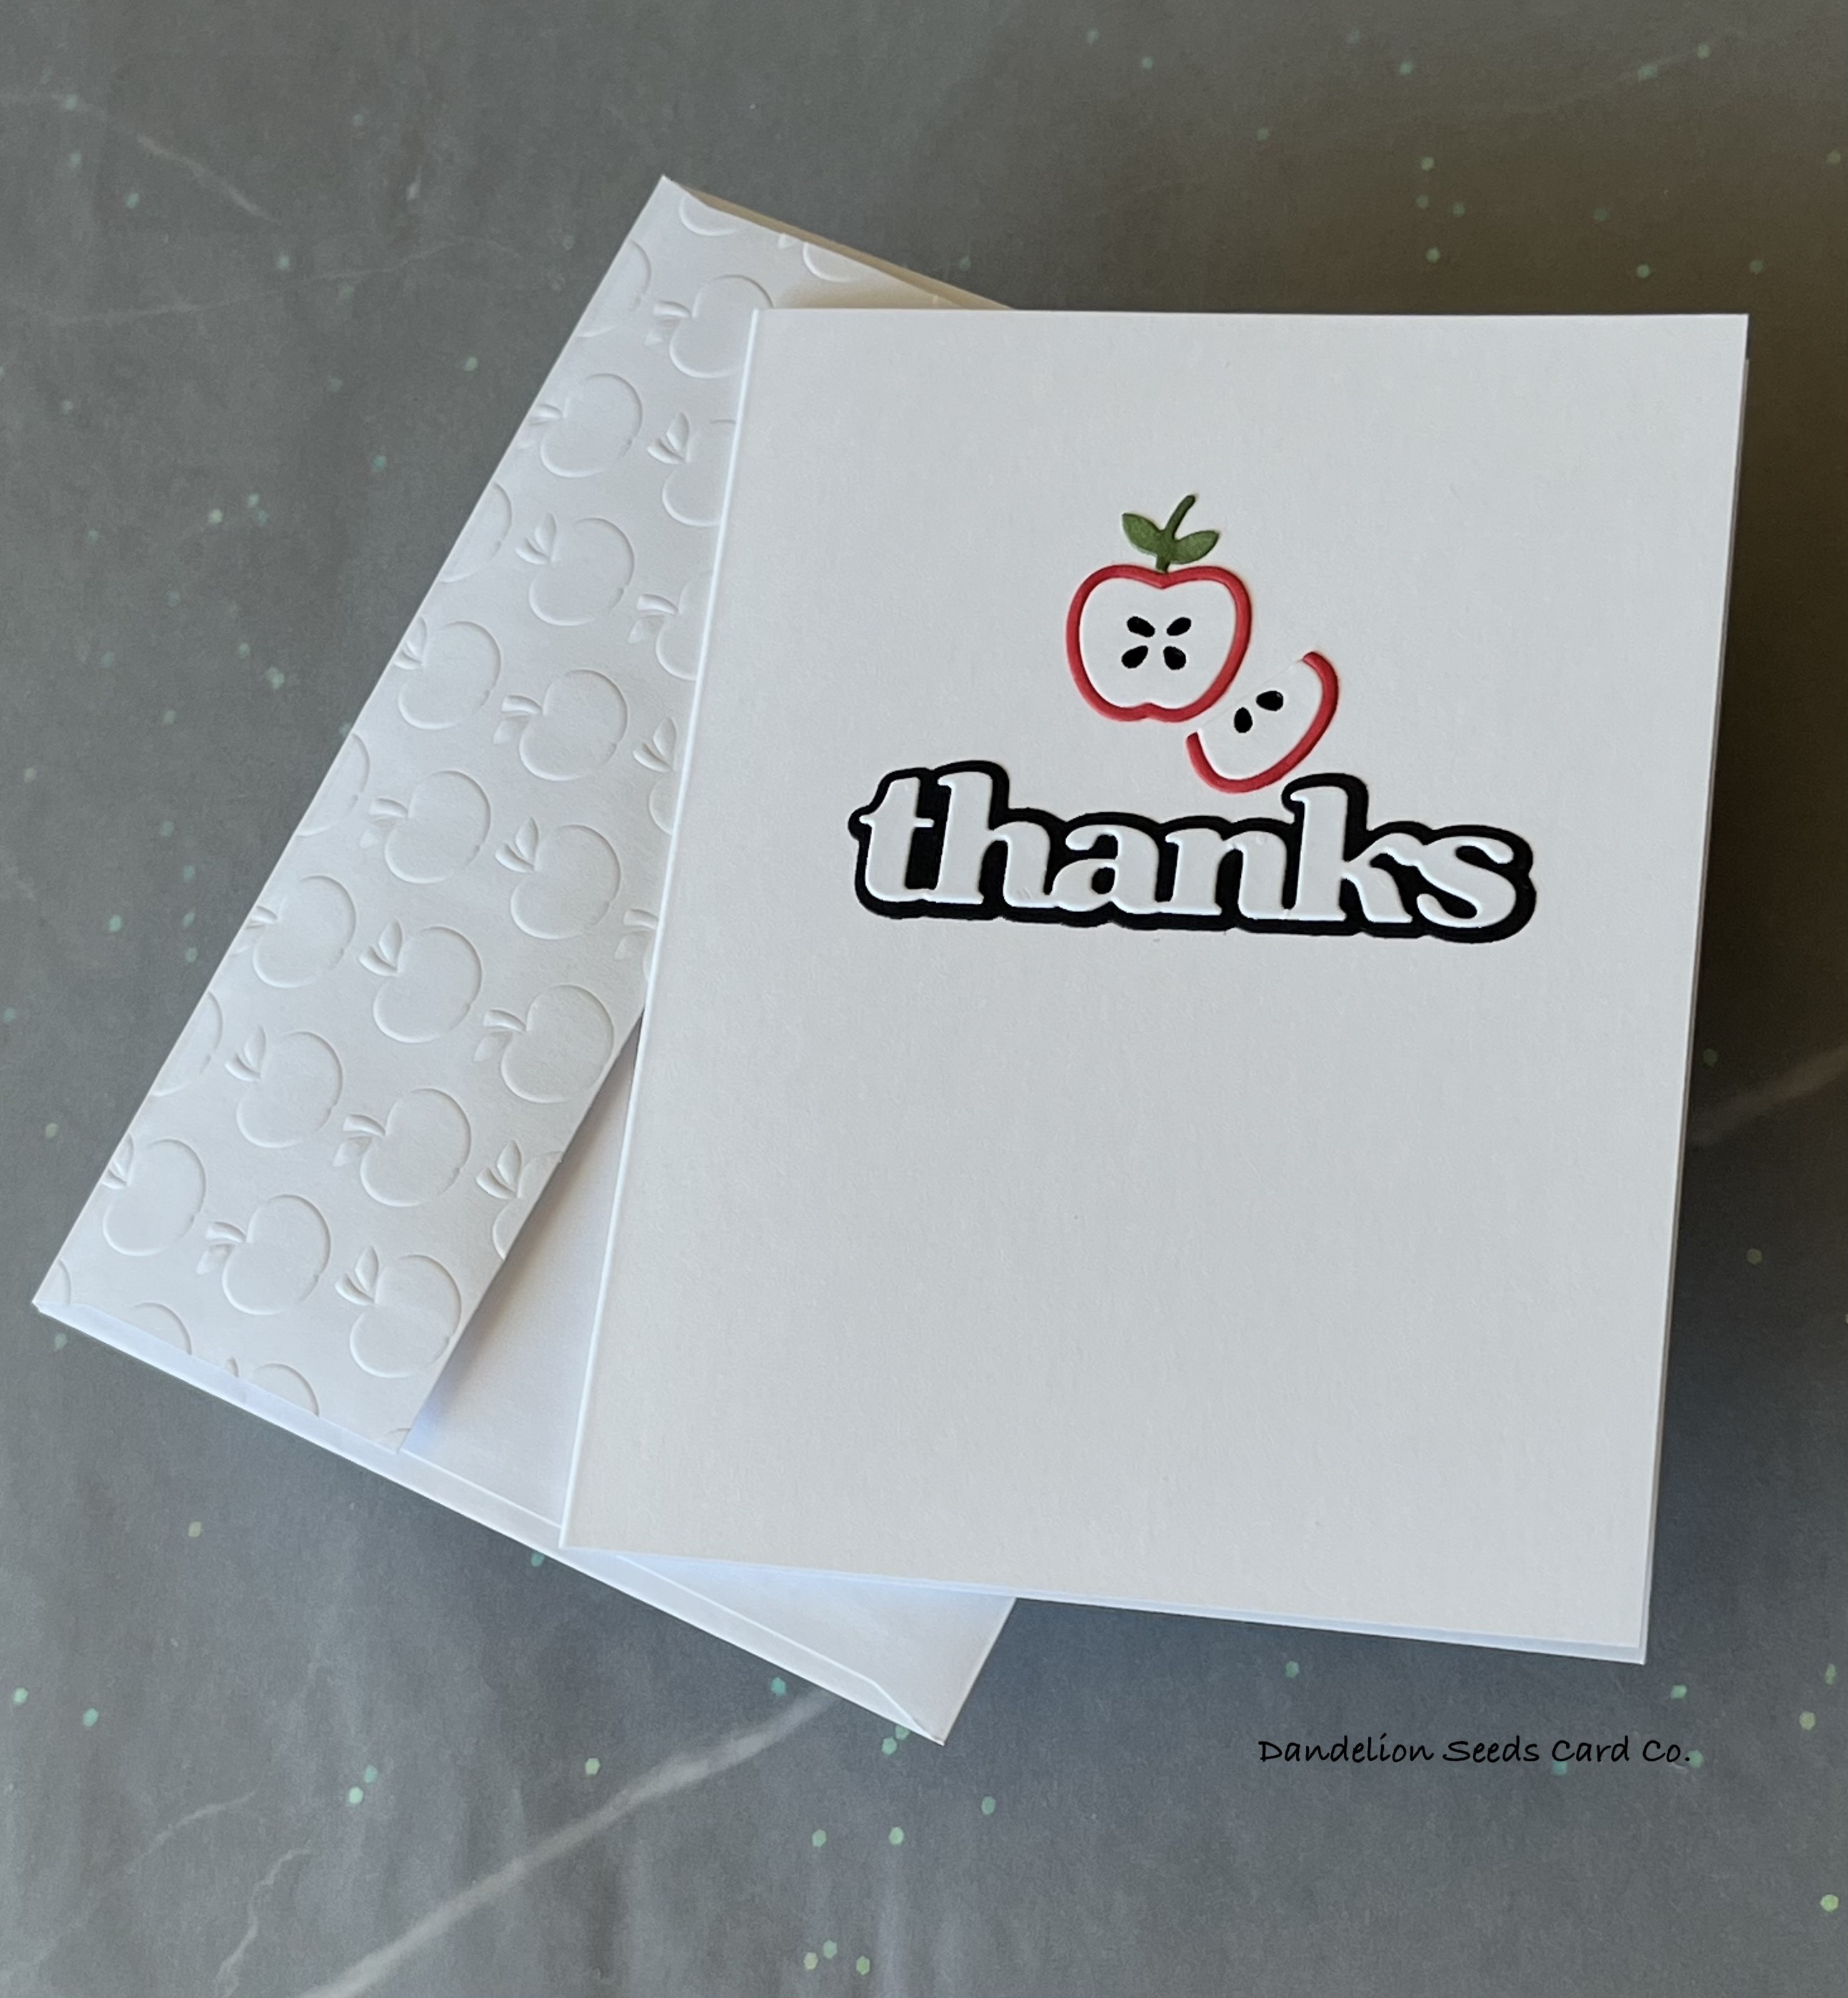
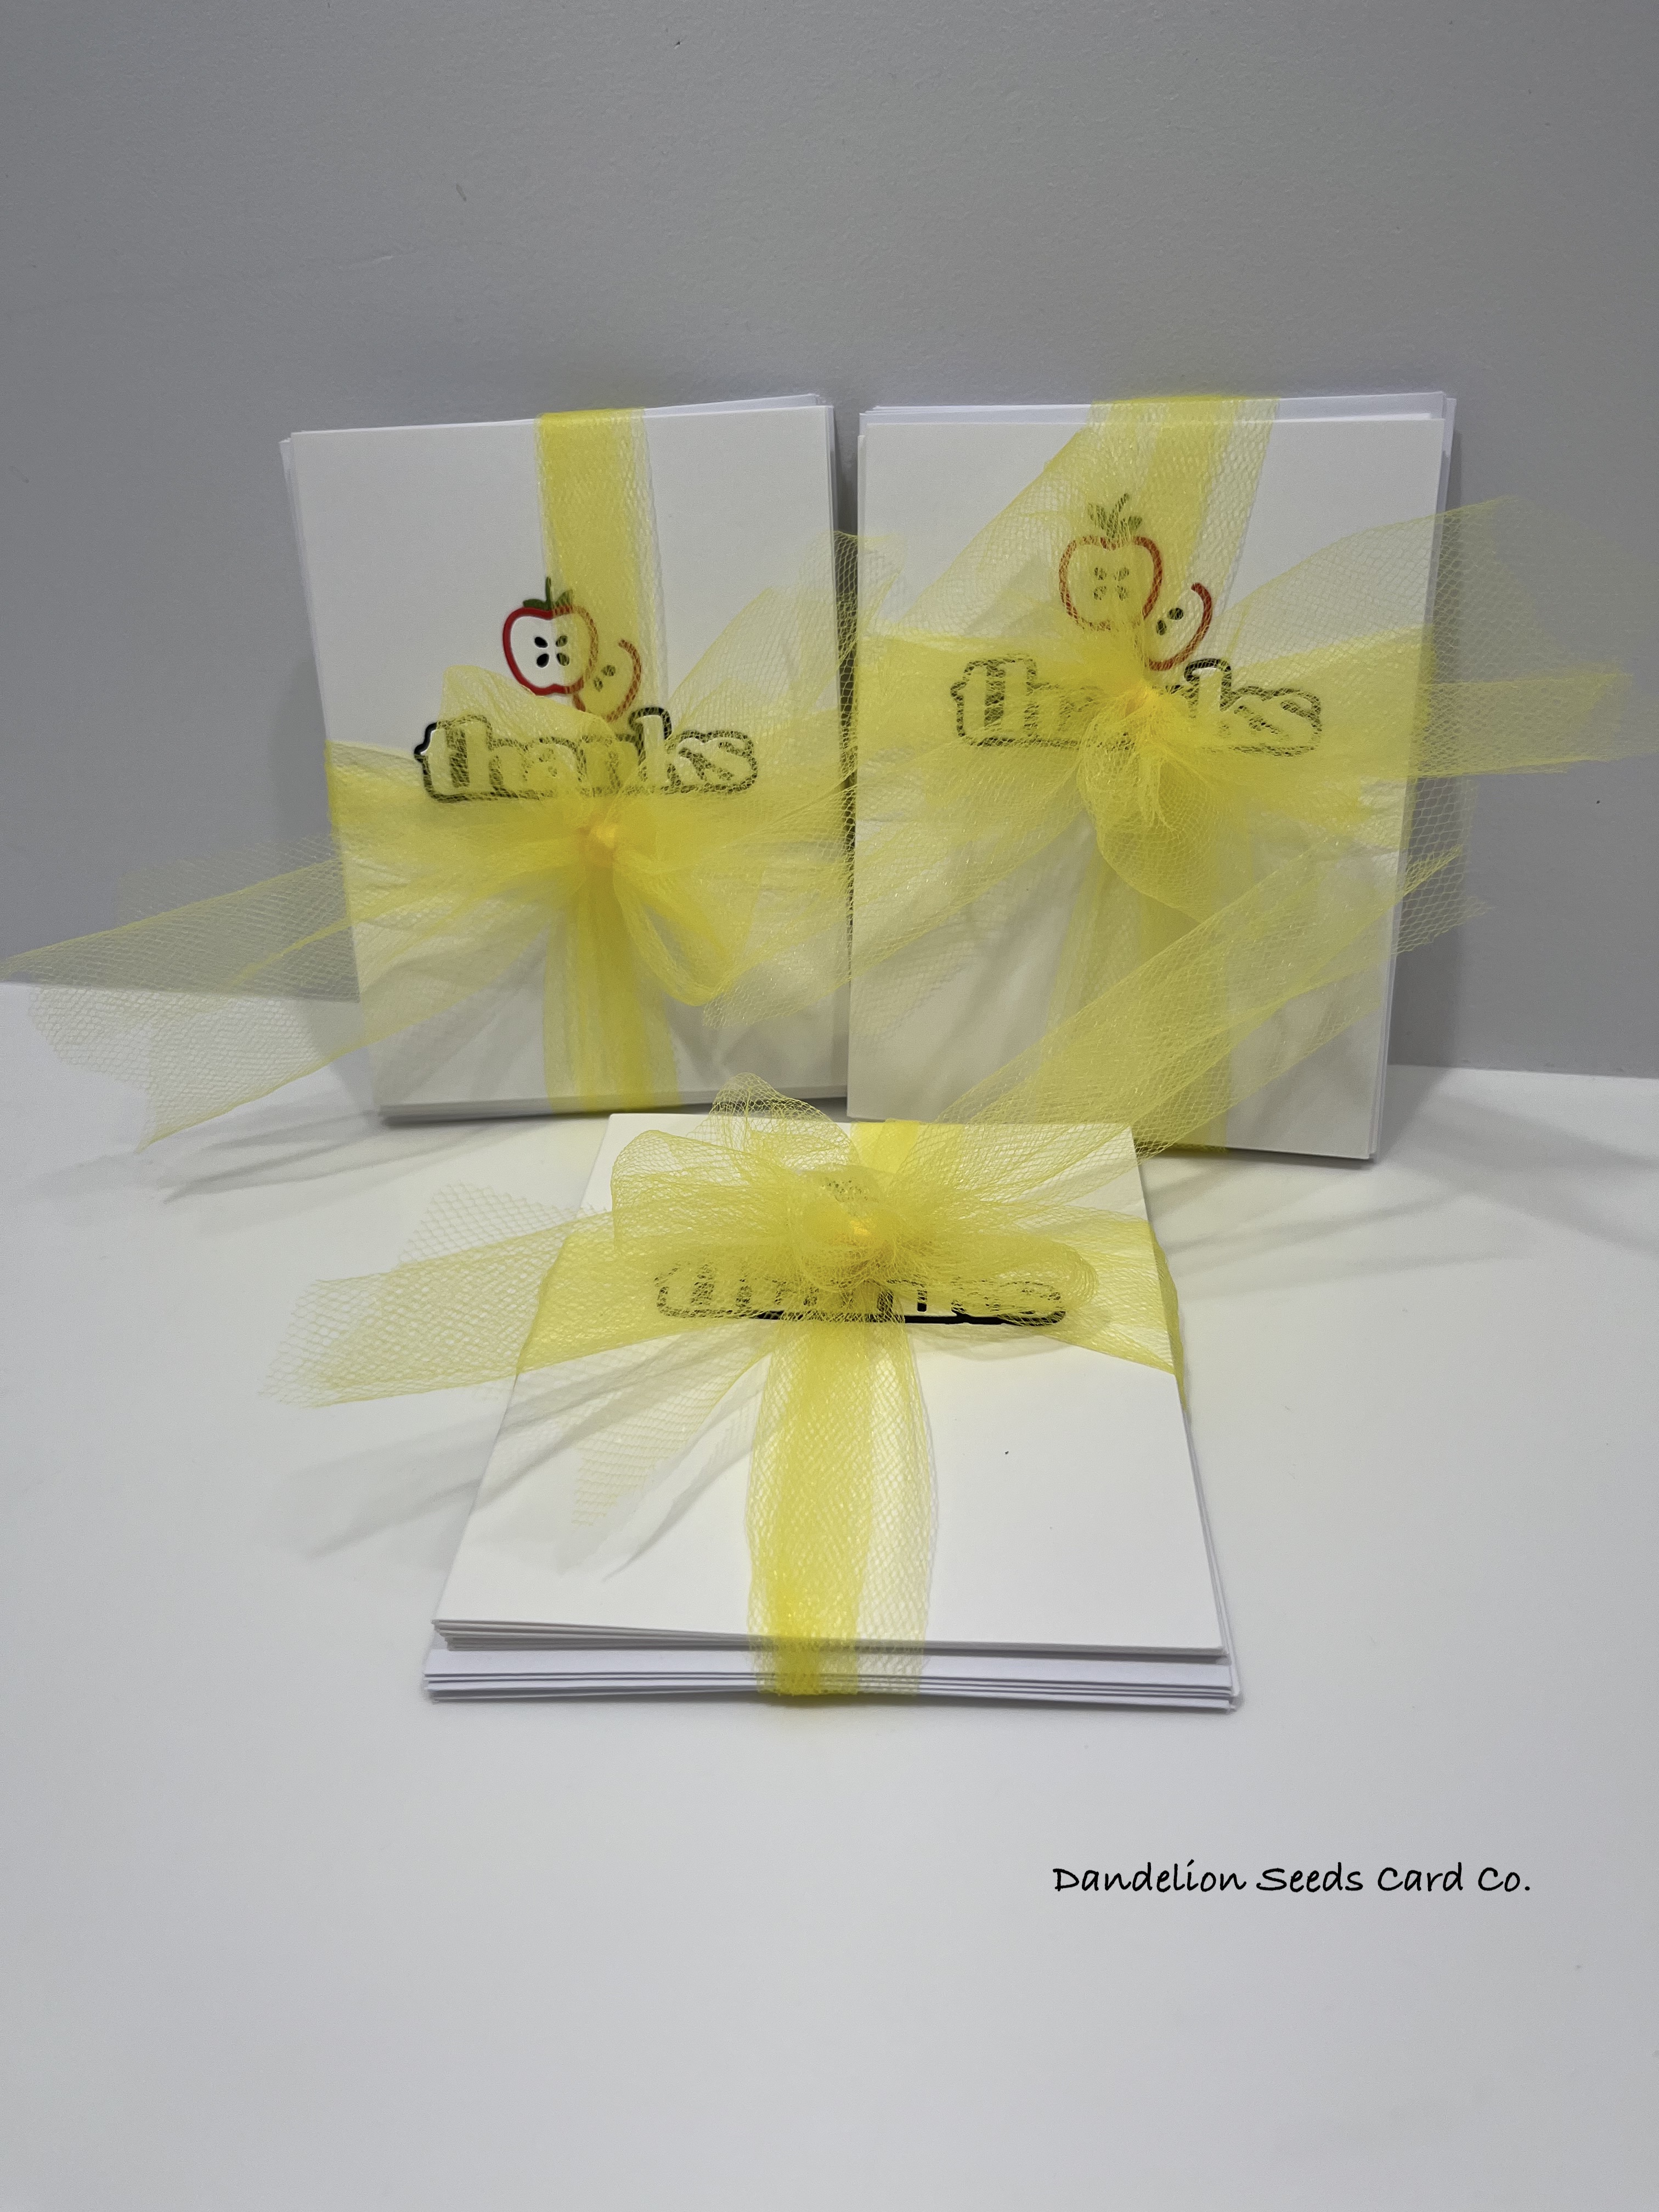
Because I was pinched for time, these card sets needed to be clean and simple. For each card, I die cut the apple and half-apple from the Spellbinders Delicious Decorations set. I cut from white card stock and colored these with Copic markers -- R24 & R27 and YG63 & YG67. For the sentiment, I die cut the thanks word and shadow from the Altenew Versatile Greetings set in black and white and layered them. Tip: Stick down the shadow die cuts to a sticky mat! This will hold them in place while you glue on the detail layers. It keeps your fingers out of the way and it cuts down on the gluey mess! Once the cards were assembled, I used a Sakura Black Glaze Pen to color in the apple seeds. The added shine was nice, and quite frankly, there was no way I could inlay those tiny seeds. Because I was feeling a little stingy and cheap with my time, I needed to make the envelopes extra special. To keep them on-theme, I dry embossed the envelope flaps using the Echo Park Apple for Teacher stencil -- which must be retired, but this one is very similar. I tied up each set of five cards with yellow tulle.
As part of my contribution to the gift baskets, I provided Starbucks gift cards, so I needed a fancy way to present them. After a couple years of owning the Sunny Studio Color My World stamp & die set, I finally used it! I die cut a bunch of all the writing utensils from white card stock, but I only used the crayons because I liked the way they fit together perfectly. I stamped them in a rainbow of colors -- using nearly every Gina K ink in the line.
Tip: The best way to mass produce images like this is to die cut first and stamp layer second. Creating a jig to hold each die cut in place is an incredible time saver! And that tiny hole punched in the jig above the crayon makes for easy removal! To create each tag, I die cut two of the Sizzix Stitched Border Tags, which are apparently now retired, but will never grow out of style! I cut one tag vertically at 1". This will be the pocket to hold the gift card. I glued this pocket -- only on the sides and across the bottom -- on top of a full tag. Then I glued the crayons to the front of the pocket.
I also added a Paper Smooches welcome die cut, cut from black card stock, and layered two thick. This is mostly hidden when the gift card is inside the pocket.
I tied yellow tulle onto each tag.
Add a succulent, and you've got a perfect teacher gift basket!
And there you have it!
Another back to school card making season officially on the books! This was, by far, the most satisfying mass producing and card giving venture I've ever undertaken. It just plain feels good to give of my time and energy to do little things for people. It's the least I can do to spread kindness in the world. Because, though we all like to say, after all, it's just paper, is it really? Is it really just paper?
Yeah. I think not.
Thanks for stopping by!
Tammy


Comments
Post a Comment